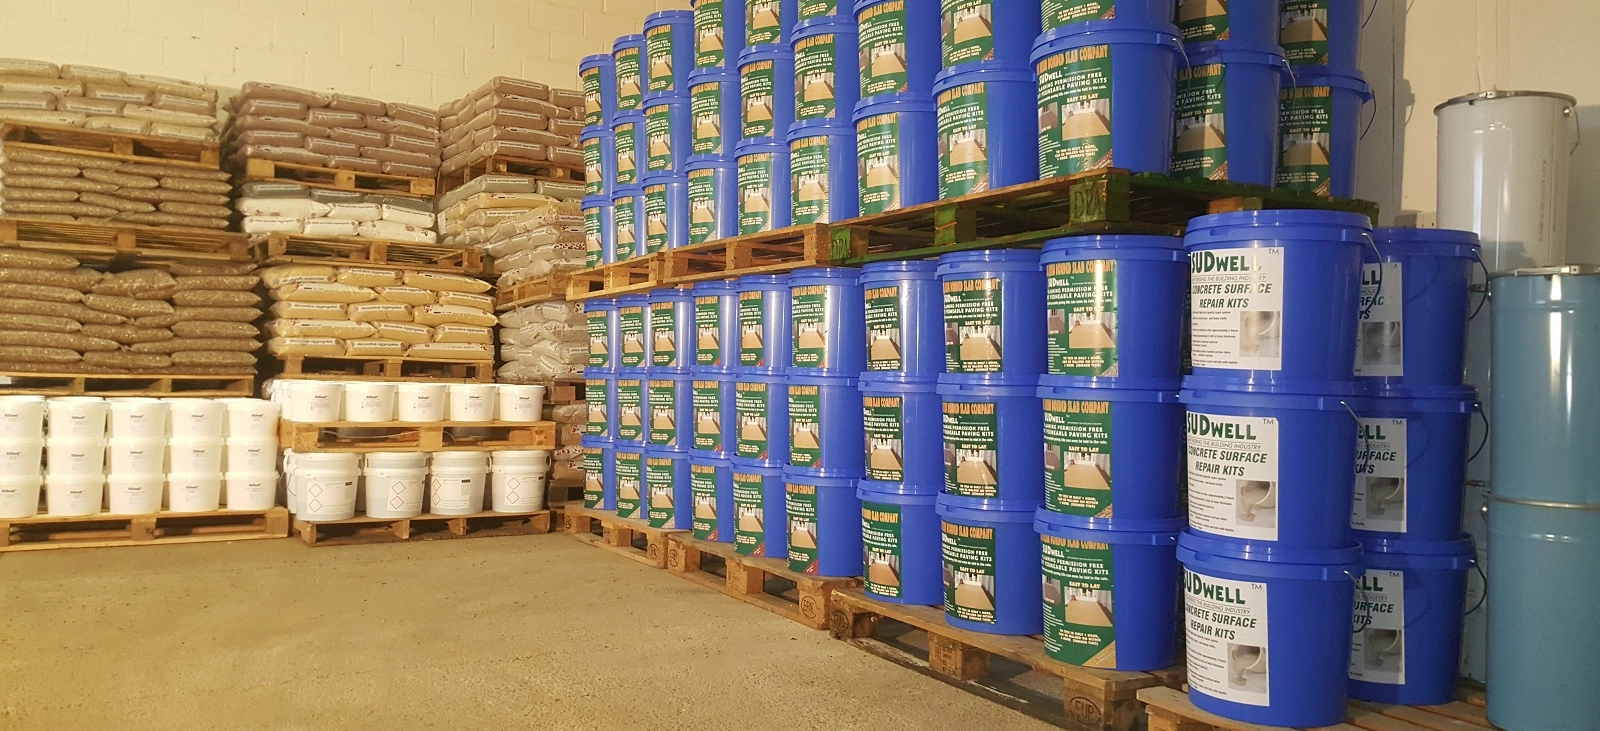
Resin driveway kits have become increasingly popular among homeowners looking for a durable, attractive, and cost-effective solution for their driveways. These kits offer an easy-to-install option that provides a smooth, strong, and visually appealing surface. In this article, we will explore what resin driveway kits are, their benefits, installation process, and tips to ensure a Resin Driveway Kits project.
What Are Resin Driveway Kits?
Resin driveway kits are DIY packages that contain all the materials needed to create a resin-bound surface for driveways, patios, or pathways. The main components include:
- Aggregate stones or gravel: These small stones form the visible surface.
- Resin binder: A clear or lightly tinted resin that binds the aggregate stones together.
- Primer (optional): Helps the resin adhere better to the existing base.
- Hardener: Often included as part of the resin mixture to initiate curing.
When mixed, the resin binds the aggregate stones into a solid, permeable surface that is both strong and flexible.
Benefits of Resin Driveway Kits
- Durability: Resin-bound surfaces are tough and can withstand heavy vehicle traffic without cracking or breaking.
- Permeability: The porous nature allows water to drain through, reducing flooding and puddling.
- Aesthetic appeal: Available in various colors and stone types, resin driveways offer a sleek, modern look.
- Low maintenance: They require minimal upkeep—occasional cleaning and resealing keep them looking new.
- Quick installation: DIY kits make the installation process faster and more accessible.
- Eco-friendly: Permeable resin surfaces help manage stormwater and reduce runoff.
How to Install a Resin Driveway Kit
Step 1: Prepare the base
Ensure the driveway base is stable, clean, and free of debris. Typically, a concrete or tarmac base is required.
Step 2: Apply primer (if included)
Apply a primer layer to improve adhesion between the base and resin surface.
Step 3: Mix resin and aggregate
Combine the resin binder with the aggregate stones according to the kit instructions. Use a slow mixer to ensure even coating without air bubbles.
Step 4: Lay the mixture
Spread the resin-aggregate mixture evenly over the prepared surface using a trowel or rake.
Step 5: Smooth and level
Use a spiked roller or similar tool to smooth out the surface, remove air bubbles, and compact the mixture.
Step 6: Cure and dry
Allow the surface to cure as per the resin’s specified time (usually 24-48 hours), keeping it dry and free of traffic.
Tips for a Successful Resin Driveway Project
- Follow instructions precisely: Resin driveway kits require accurate mixing ratios and application methods.
- Work in suitable weather: Avoid installing resin in extreme heat, rain, or very cold conditions.
- Use protective gear: Gloves, masks, and goggles are recommended to handle resin safely.
- Prepare the base well: A solid and clean base is critical for the longevity of the driveway.
- Consider professional help: For large areas or complex shapes, consulting professionals might save time and ensure quality.
Conclusion
Resin driveway kits offer a fantastic solution for homeowners wanting a durable, attractive, and low-maintenance driveway surface. With their ease of installation and excellent performance, these kits have transformed the way people approach driveway renovations. Whether you’re a DIY enthusiast or planning a professional installation, resin driveways combine practicality with aesthetic appeal to enhance your home’s curb Resin Driveway Kits.
